Before you begin, you’ll want to make sure you have your distributor account number available. If you do not have your account number, you will need to connect with your distributor to get that information first.
Log in to your Rosy account and look for the Boosters tab next to Support.
Click on the SalonInteractive link to take you to your dashboard, where you’ll want to click on Finish Setup.

In the next window, add your business information and click Next.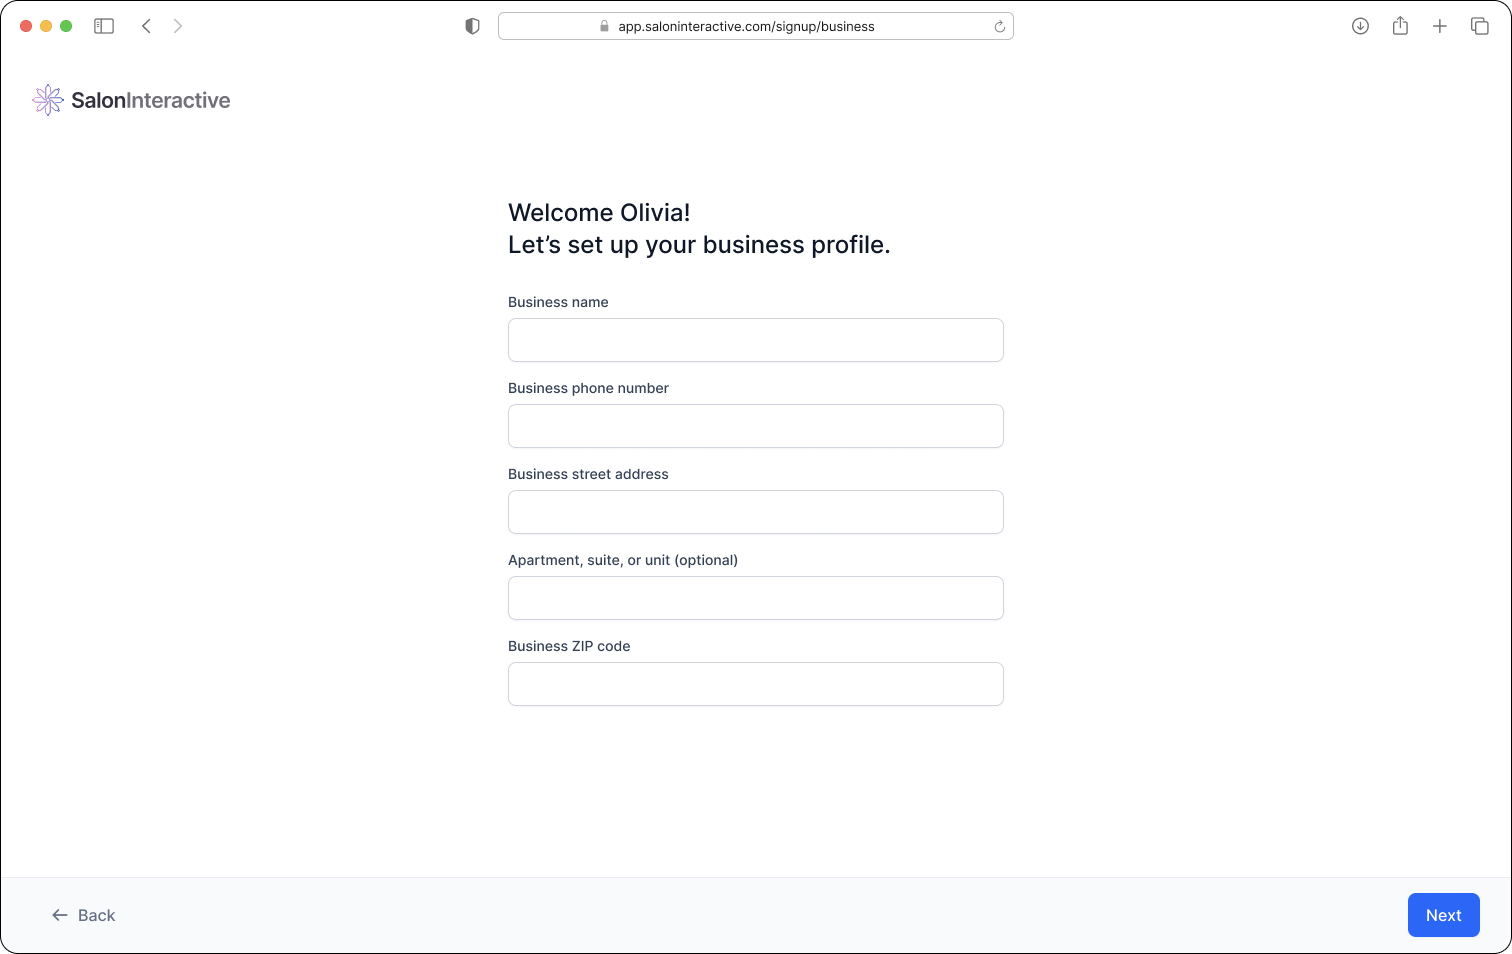
The next two pages will ask a handful of questions about your business. Your answers to these questions help us better tailor features and communications to and for you. However, if you skip any of these questions, you can fill them in later.
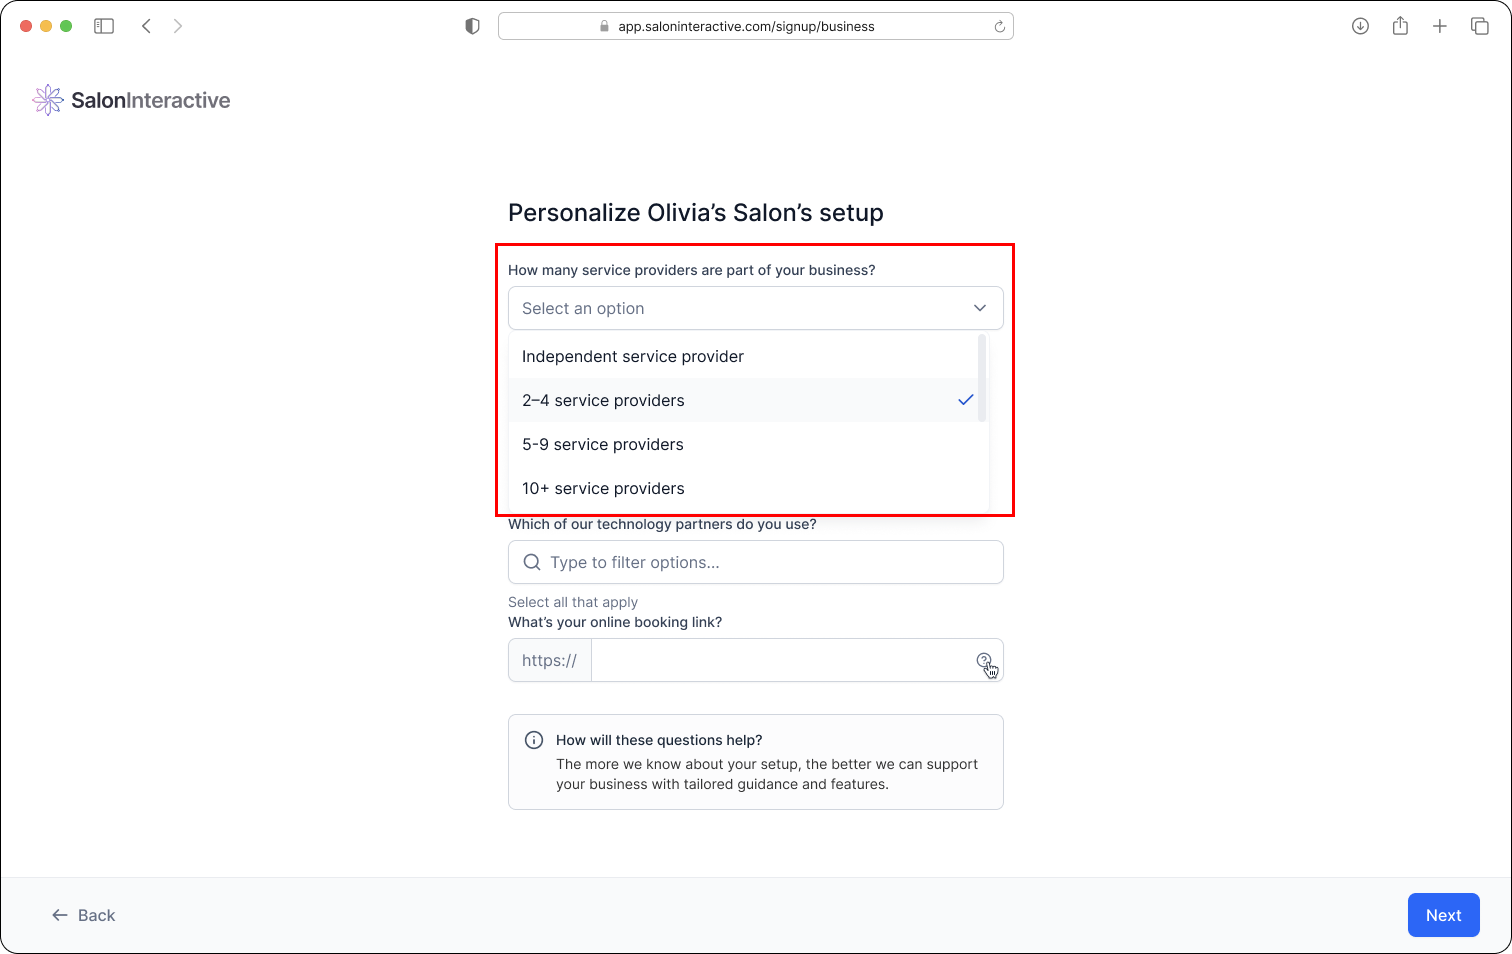
For the first question, use the dropdown to find and select the number of service providers in your business.
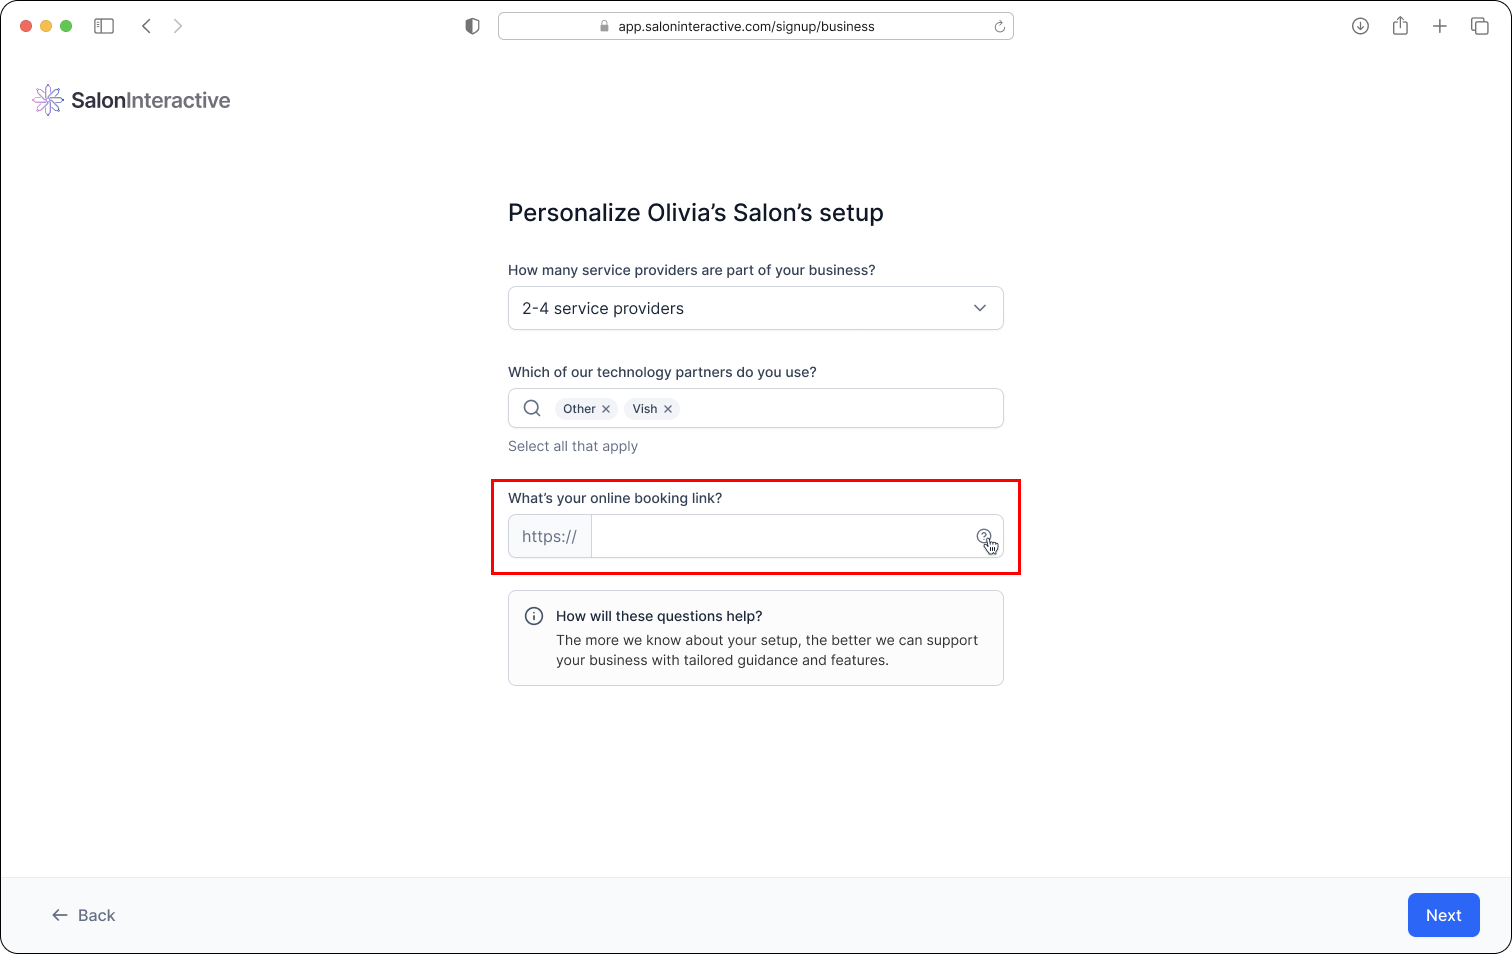
In the next section, use the dropdown to find and check all the technology partners you use.

In the last section, add your booking link. If you don’t offer online booking, add a link where clients can reach you, such as your social page or website contact form.
When done, click Next.
Service details personalize your automated marketing, promoting the services and brands that set your salon apart.
In each section, add the brands you use for:
- Color
- Hair and scalp treatments
- Permanent chemical services (other than color)
When done, click Next.

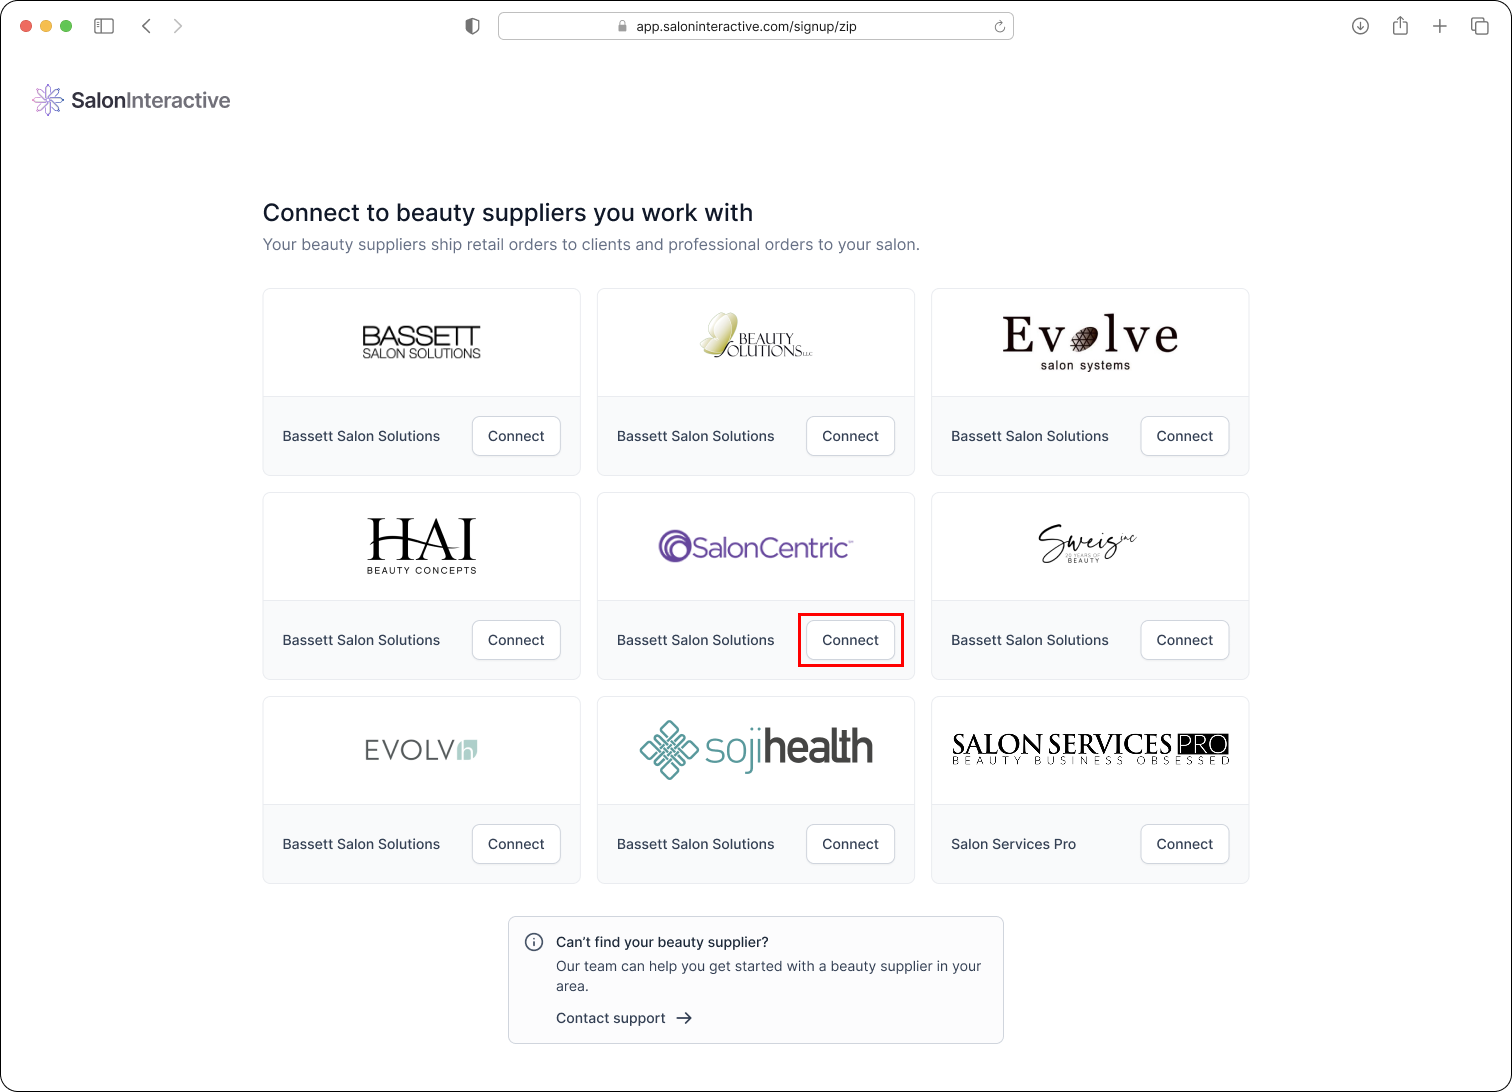
Your beauty suppliers ship online retail orders to clients and professional orders to your salon.
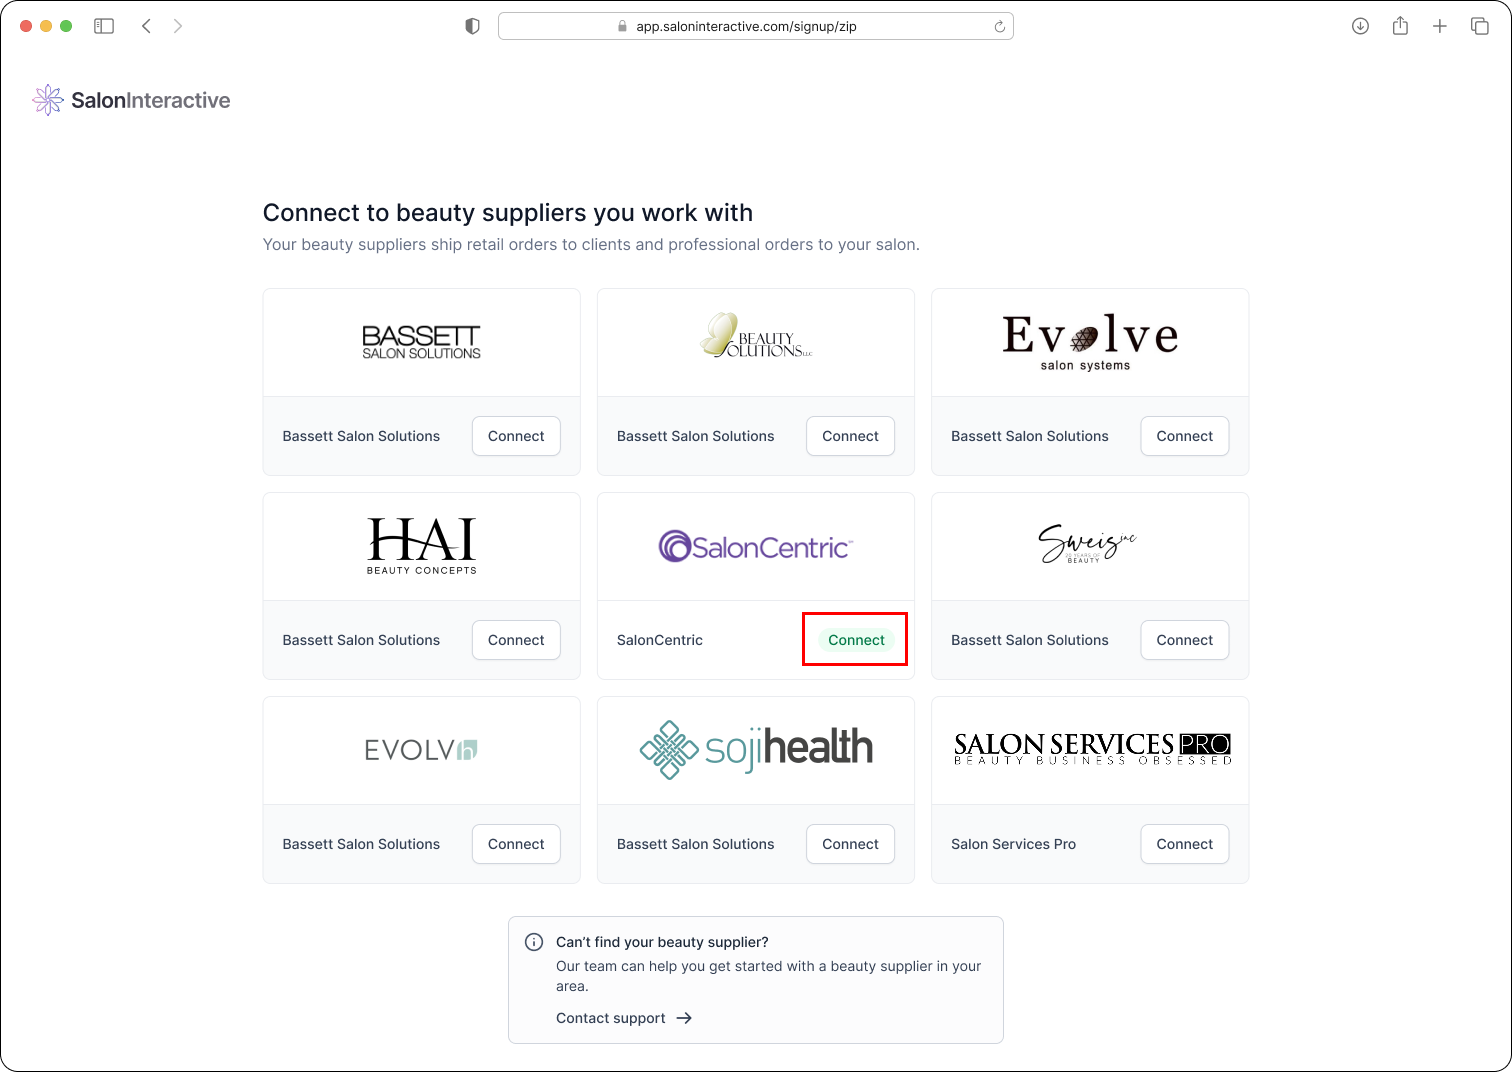
Based on your ZIP code, the beauty suppliers available in your area will be displayed on the next page. Find your beauty supplier and click Connect.
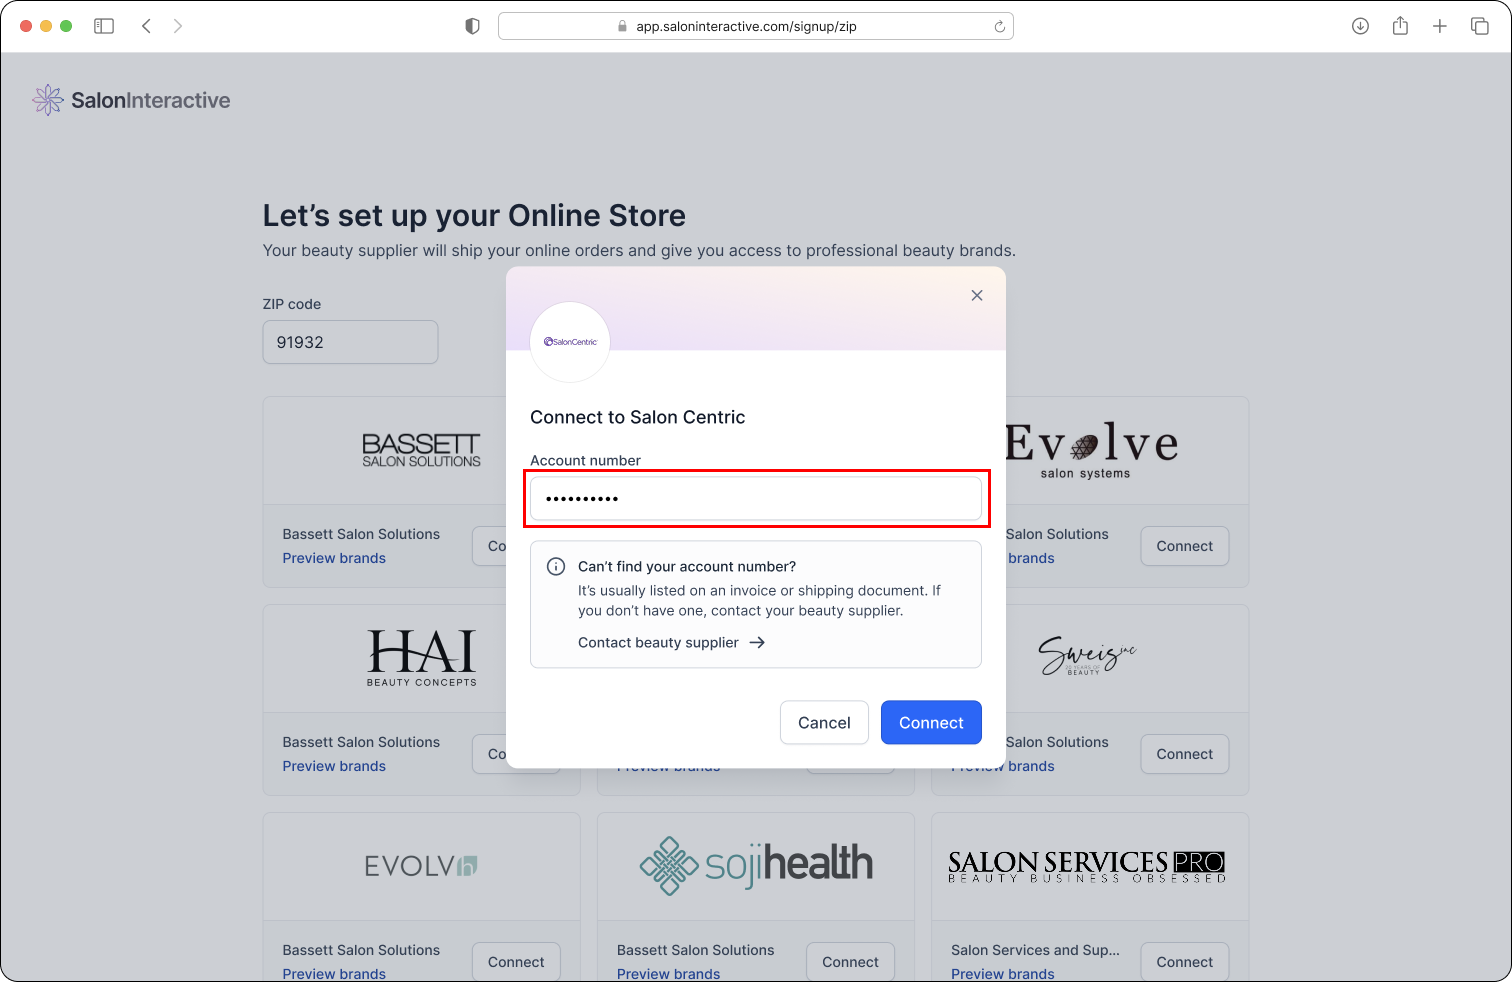
Enter your beauty supplier account number and click Connect. Your page will refresh, and you will see that your chosen supplier has been connected.
You can connect as many SI beauty suppliers as you want. Once connected, salon ordering will also be enabled for all professional brands available through participating service providers.
Click Next to continue.
Select the brands you would like to carry on your Online Store. A checkmark means that the brand is selected. Click Next when done.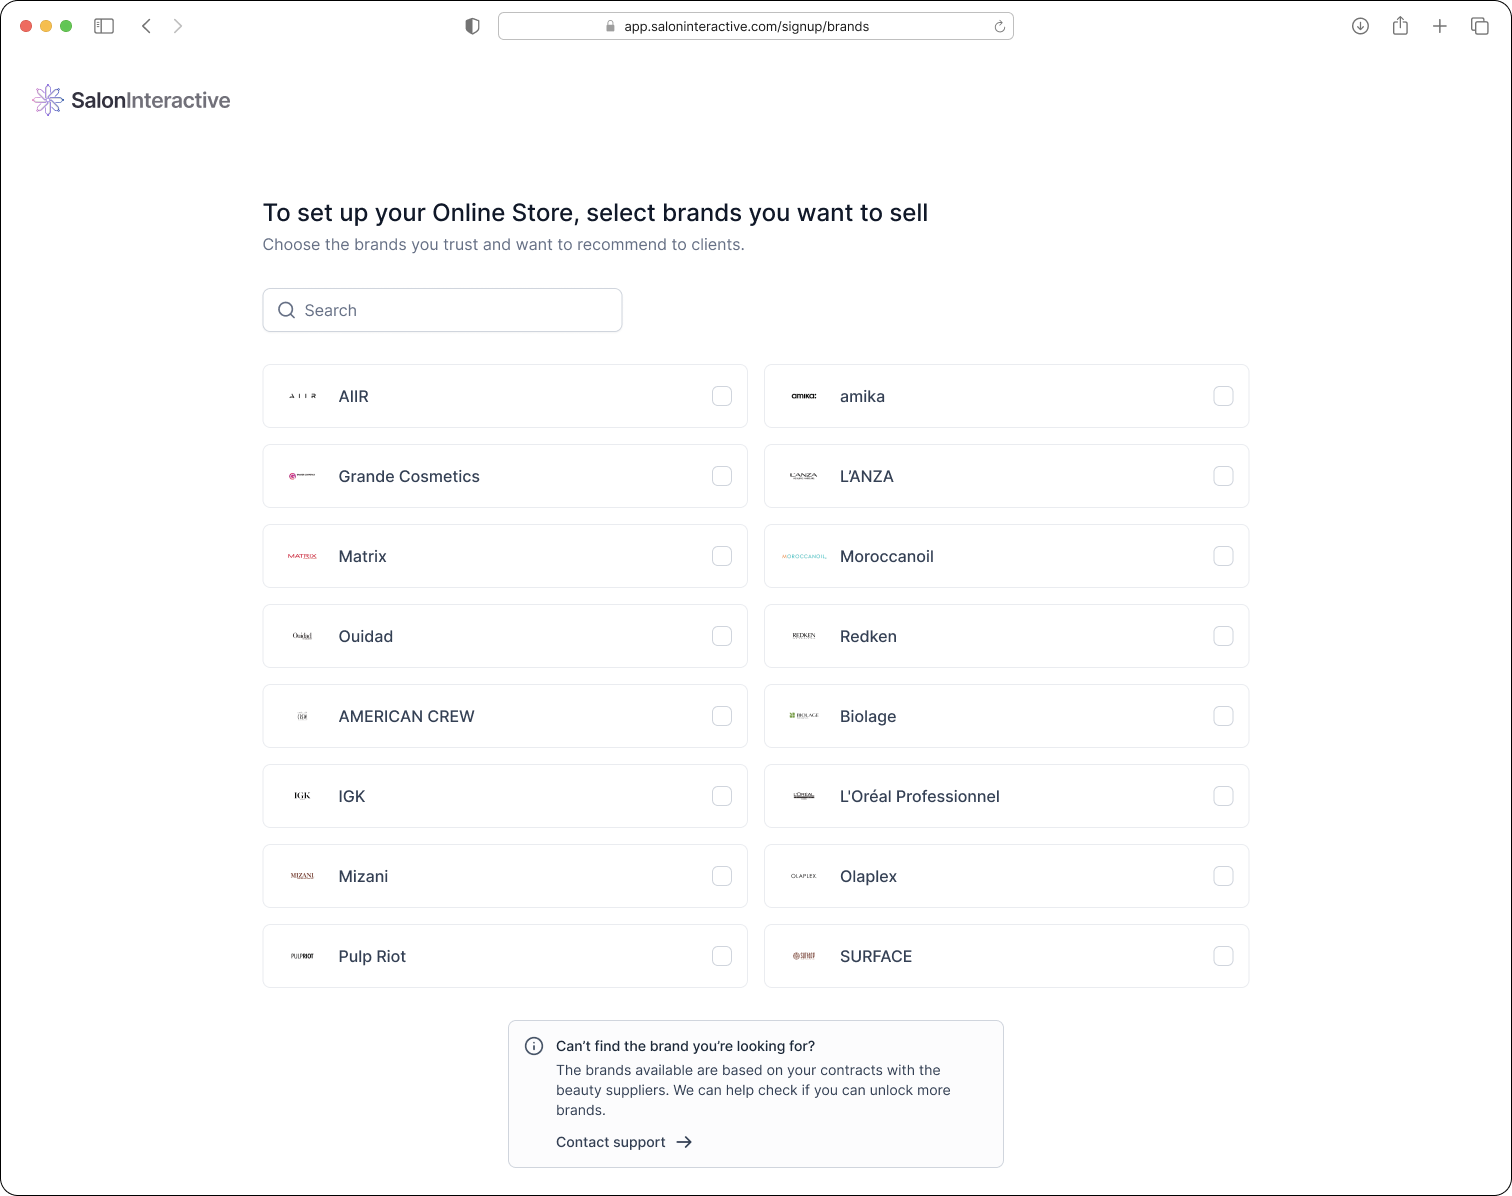
Give it a moment while the system customizes your storefront, dashboard, and marketing tools.
Congratulations, your Online Store is now live!
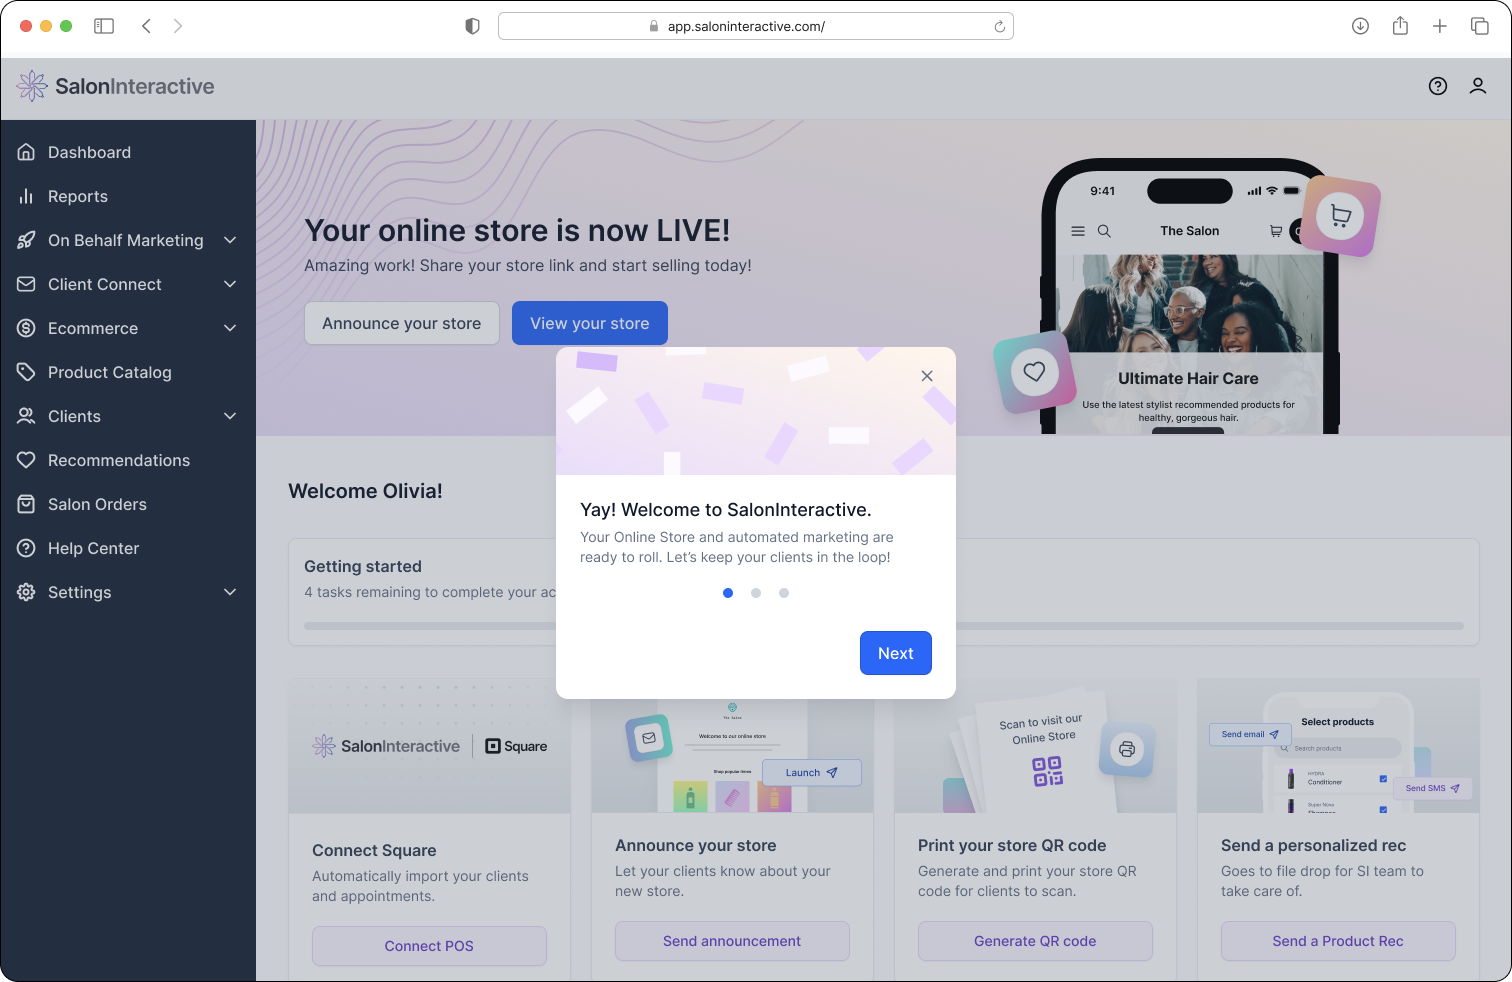
Next, customize your store to fit your vibe:
To take advantage of On Behalf or Client Connect email marketing or send Product Recommendations, be sure your clients are added to your account.
Resources:
- What is a beauty supplier, and why do I need an account number?
- How do I customize my Online Store?
- How do I add or change my logo?
- How do I upload clients?
- How do I manage clients?
- How to send Product Recommendations
- How do I set up my bank account?
- How do I add or edit a team member?
- How do I find my Online Store link?
- How do I promote my Online Store?
- Top 10 Ways to Promote Your Online Store
To make edits:
If you need help, we’re here for you. Give us a call at 312-300-0553 or open a case at support@saloninteractive.com.