NOTE: Changing your business settings affects information that populates on your Online Store, Client Connect email marketing, and On Behalf Marketing features.
In this article, you can:
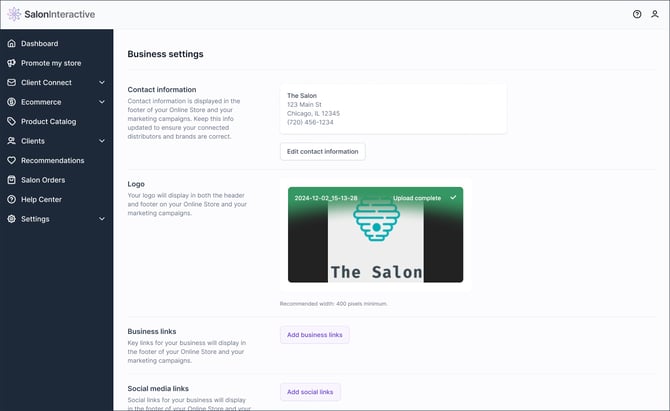
First, log into SalonInteractive. In the upper right side, click the profile icon and then Business settings. 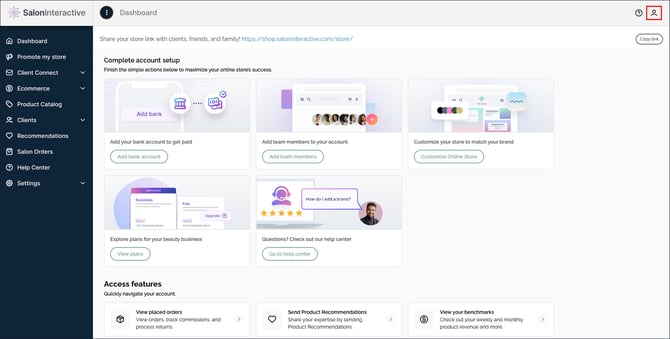
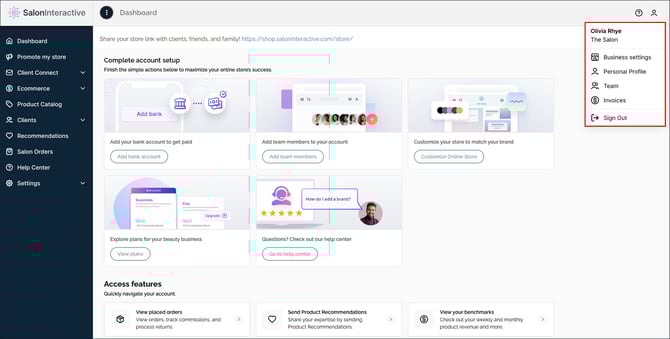

A new window will show your basic contact information, logo, and business and social media links.
Update contact information
To update your business contact information, click Edit contact information.
NOTE: If you've connected your point-of-sale (POS) software to your SalonInteractive account, you will not be able to change your contact information through your business settings in SalonInteractive.

Make any needed changes and then click Save changes at the bottom of the slide-out.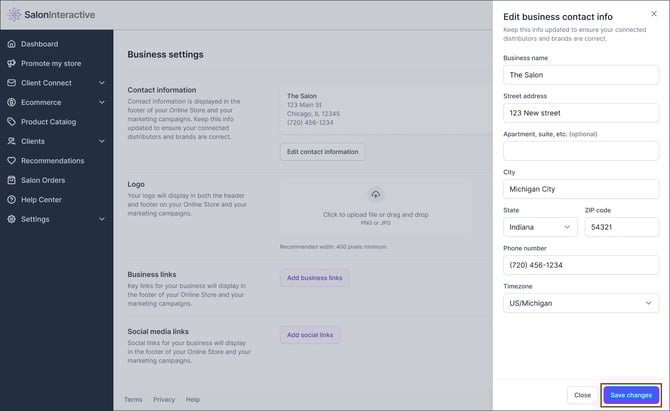
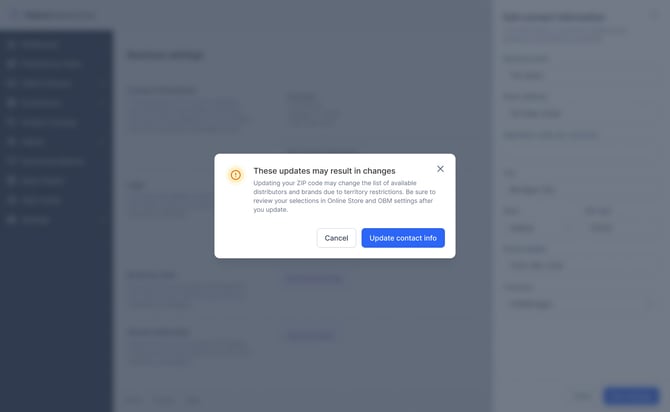
NOTE: Updating your ZIP code may change the list of available distributors and brands due to territory restrictions. Be sure to review your selections in Online Store and OBM settings after you update.
If you have connected your point-of-sale (POS) software to your SalonInteractive account, you may need to make updates to your company’s profile information through your POS account.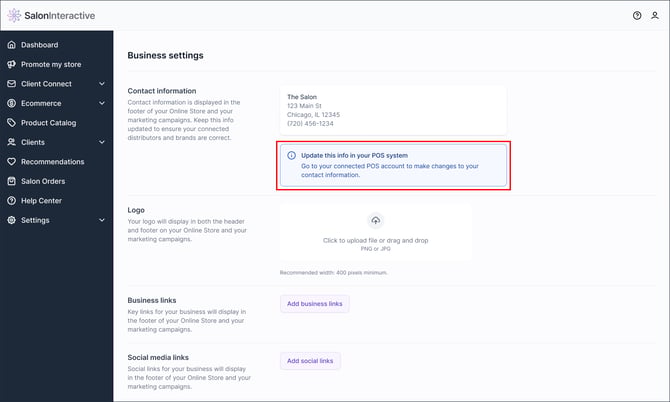
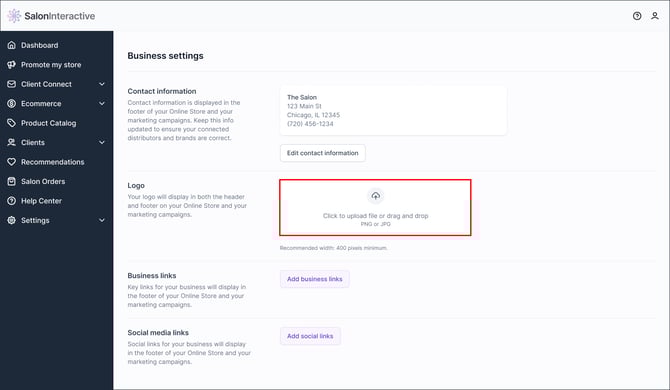
Add a logo
Before you start, make sure your logo is a .png or .jpg file and is at least 400 pixels wide. The overall file size should not exceed 5MB.
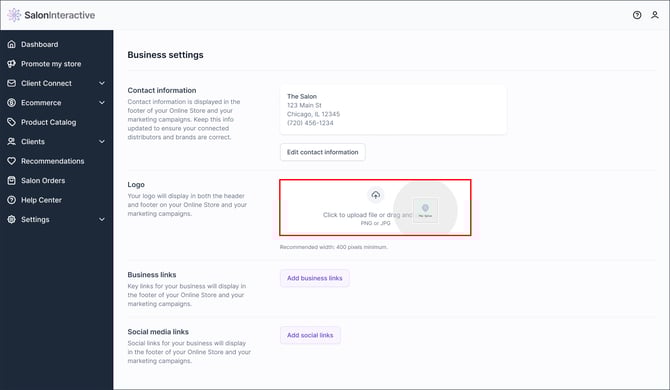
To add a logo, either click the upload icon or drag and drop the image file into the upload box.
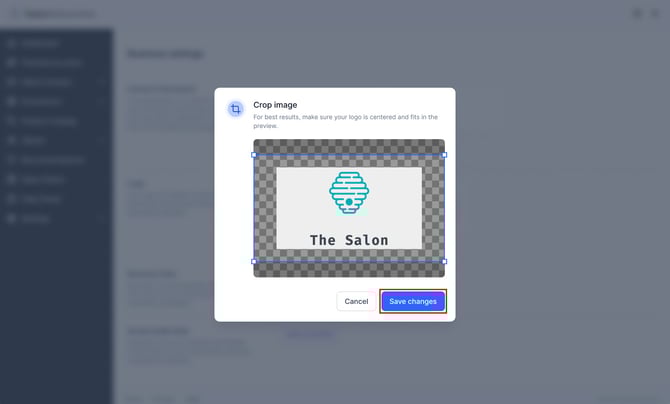
You’ll see a preview of your logo. Extend or contract the cropping box and crop as desired while centering your logo. Click Save changes when done.
Once your logo is uploaded, you’ll see it displayed in the logo section.
Your logo will display at the top and bottom of your Online Store, as well as on all marketing emails.
- How do I introduce my Online Store using email marketing?
- What is On Behalf Marketing and how does it work?
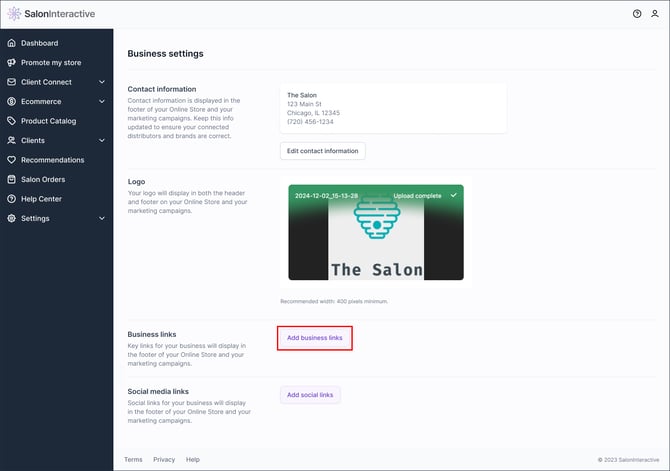
Add business links
To add your business links to the footer of your Online Store and email marketing, click the Add business links button.
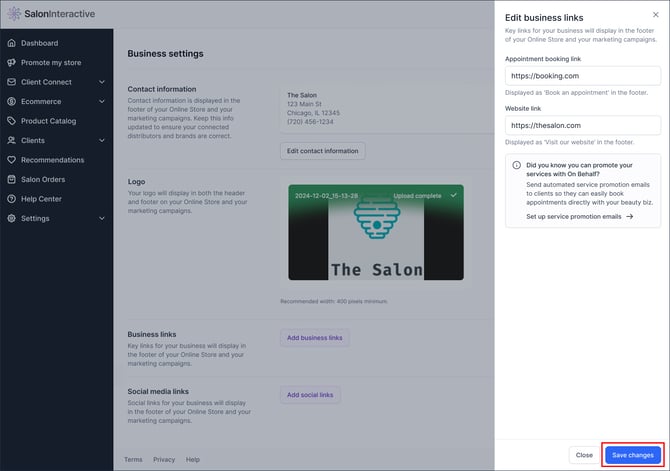
Add your booking and website links and click Save changes when done.
Note: Your booking link will display as 'Book an appointment' and your website will link from 'Visit our website' in the footer of your Online Store and on most email marketing. For On Behalf Marketing service campaigns, only your booking link will appear, so there’s a single call-to-action to book an appointment with you. If using service campaigns, you cannot remove your booking link.
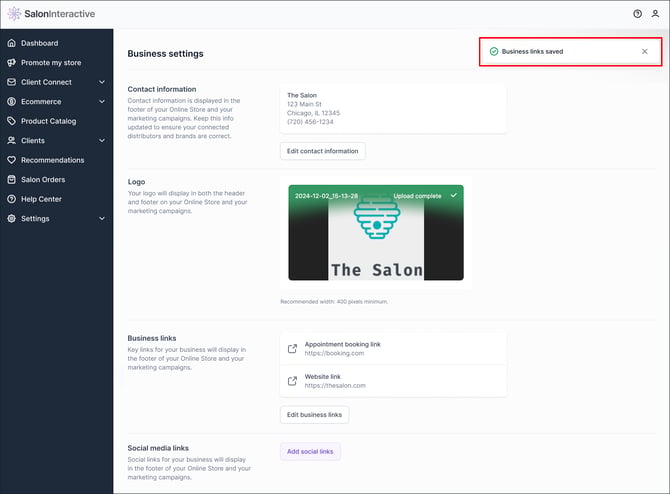
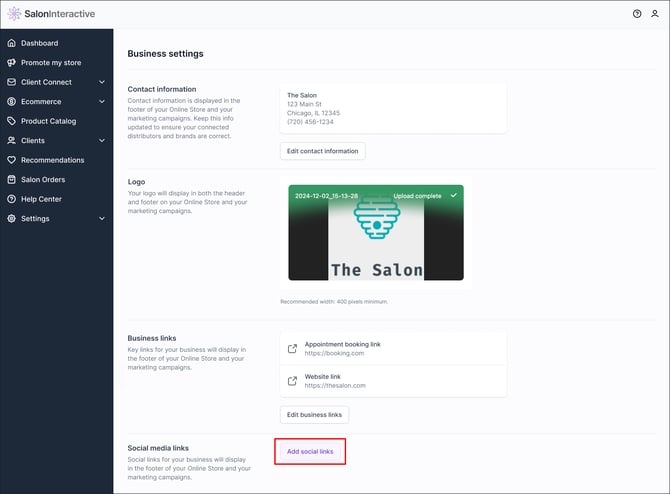
Add social media links
To add your links to your various social media channels, click Add social links.
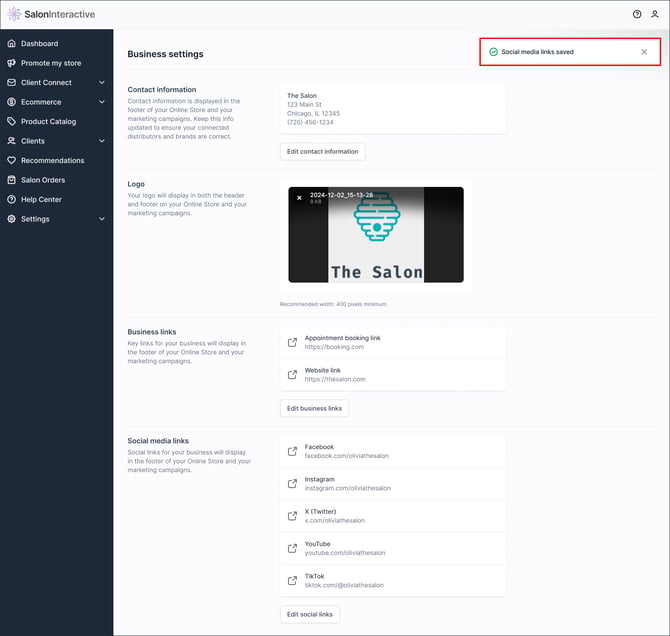
Add the handles for each of your business’s social media channels. Click Save changes when done. Social links for your business will display in the footer of your Online Store and all email marketing.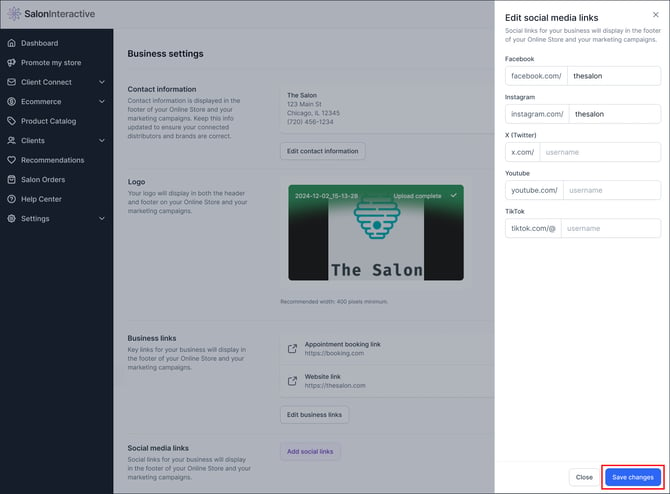
Resources:
- How do I introduce my Online Store using email marketing?
- What is Client Connect?
- What is On Behalf Marketing and how does it work?
If you need help, we’re here for you. Give us a call at 312-300-0553 or open a case at support@saloninteractive.com.